Real estate photography has a clear goal: show a space accurately and attractively so viewers want to see it in person. Good listing photos are bright, level and clean. Whether you are a new photographer, an agent shooting your own listings or a homeowner selling a property, a few techniques make a big difference.
Gear for Real Estate Photography
Camera
Any camera with manual exposure control and the ability to bracket exposures works. See how to choose a beginner mirrorless camera.
Wide-Angle Lens
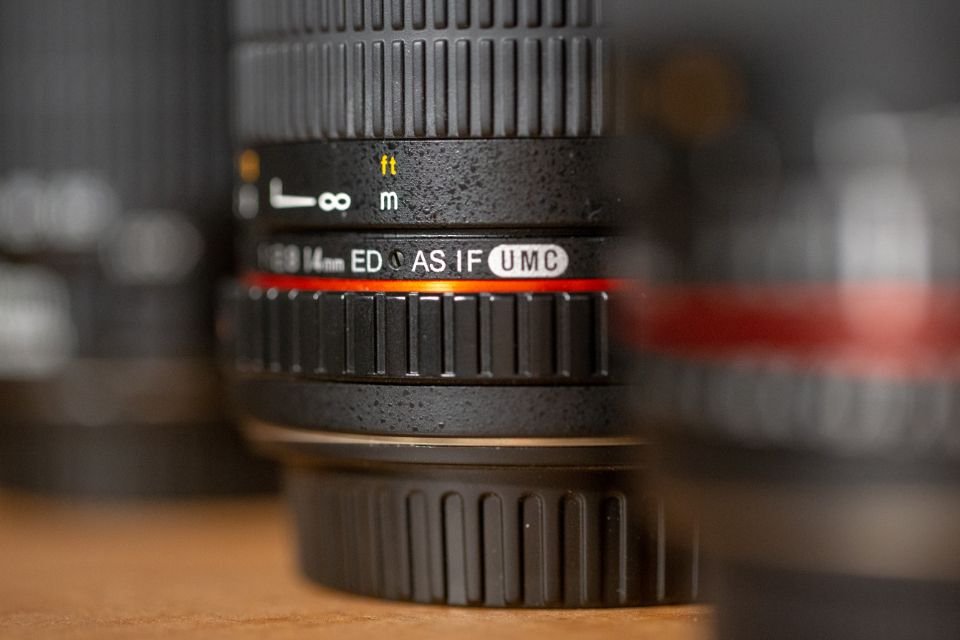
A wide-angle lens helps show rooms, but avoid extreme wide angles that distort spaces and make rooms look misleadingly large. Many photographers use moderate wide-angle focal lengths.
Tripod
A tripod keeps shots consistent, allows longer exposures and makes bracketing easier. See how to choose a travel tripod.
Remote or Timer
Use a remote, app or self-timer to avoid camera shake.
Flash (Optional)
Some photographers use flash to balance interior and exterior light.
Preparing the Space
Declutter
Remove personal items, countertop clutter, cords and excess decor. Less is more in photos.
Stage Thoughtfully
Make beds, fluff pillows, add simple accents and arrange furniture to show flow.
Turn On Lights
Turn on all lights and open blinds. Replace burned-out bulbs, ideally matching color temperatures.
Clean
Clean mirrors, windows and surfaces. Reflections and streaks show up in photos.
Camera Position and Composition
Keep Verticals Straight
Vertical lines that lean look unprofessional. Keep the camera level and use a moderate height, often around chest height. Correct remaining tilt in editing.
Shoot From Corners
Shooting from a corner can show more of a room and its layout.
Show Flow
Include doorways and connecting spaces to show how rooms relate.
Mind the Height
Too high or low can distort furniture. Adjust height to suit the room.
Avoid Mirrors
Position the camera so you are not reflected in mirrors or windows.
Exposure Techniques
Bracketing
Interiors often include bright windows and darker corners. Take multiple exposures at different brightness levels and blend them in software. This retains window details and interior brightness.
White Balance
Mixed lighting from windows and bulbs creates color casts. Shoot in RAW and correct white balance in editing.
Aperture
Moderate apertures keep rooms sharp front to back. See understanding aperture, shutter speed and ISO.
Exterior Photography
- Shoot when the front of the home is in good light
- Remove cars and trash bins
- Mow and tidy landscaping
- Consider twilight shots for warm, inviting images
Drone Photography
Aerial photos can show lot size, neighborhood and nearby features. In the U.S., drone photos for real estate listings are commercial use and generally require an FAA Part 107 certificate. See drone rules for beginners.
Editing
- Correct vertical lines
- Adjust exposure and white balance
- Blend brackets
- Remove minor distractions where appropriate
- Keep edits honest
See our photo editing workflow and Lightroom presets guide.
Honesty and Ethics
Do not remove permanent features, such as power lines, or misrepresent the property. Many listing services and markets have rules about digital alterations and virtual staging disclosure. Check local rules.
Shot List
- Exterior front
- Entry
- Living areas
- Kitchen
- Dining area
- Primary bedroom and bathroom
- Additional bedrooms and bathrooms
- Outdoor spaces
- Special features
Delivering Photos
Deliver images sized for listing platforms and print. Use consistent naming and order.
Planning a Shoot
A little planning saves time on site and produces more consistent photos.
Before Arriving
- Ask the owner or agent for a list of key features to highlight
- Check the weather and the direction the house faces to plan exterior timing
- Share a preparation checklist with the owner so the home is ready
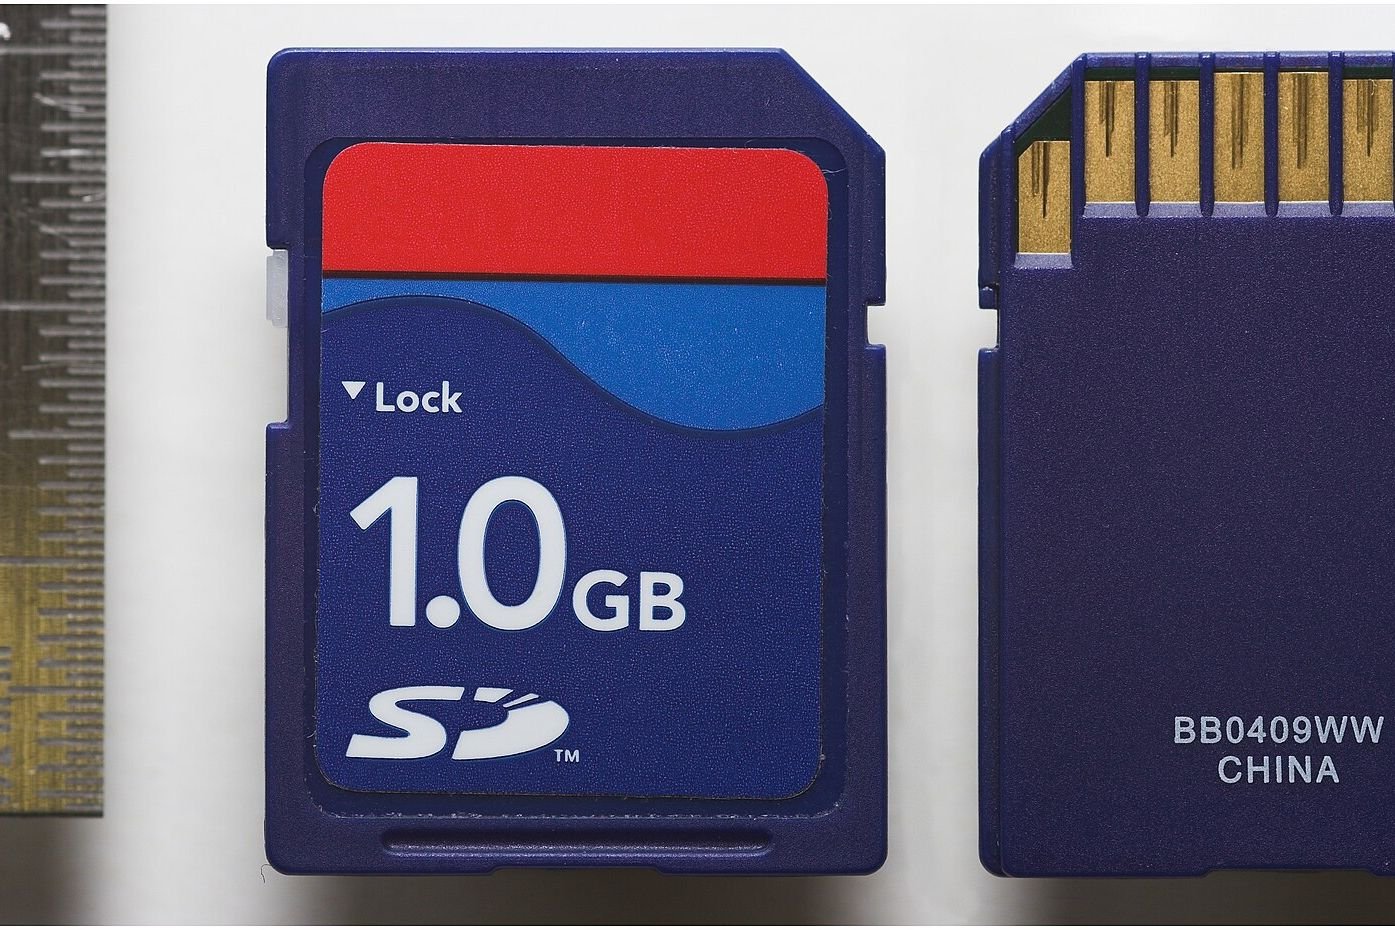
- Charge batteries and clear memory cards. See memory cards explained.
On Site
- Walk through the property first without the camera
- Note the best angle for each room
- Work room by room in a logical order
- Check focus and exposure on the camera screen as you go
Vertical Shots and Details
Most listing platforms favor horizontal images, but a few vertical shots can work for tall spaces, staircases and print brochures. Detail shots of finishes, fixtures and views can help tell the story, but they should complement, not replace, wide room shots.
Working With Window Light
Window light is often the most flattering light in a room. Shoot when it is soft, avoiding direct sunbeams on floors and walls that create harsh contrast. On bright days, bracketing becomes more important to hold window detail.
Common Mistakes
- Using too wide a lens, making rooms look stretched
- Tilted vertical lines from angling the camera up or down
- Mixed color casts from bulbs and daylight left uncorrected
- Clutter left on counters and tables
- Overly saturated edits that look unnatural
- Photographing yourself in mirrors and glass
Building a Portfolio
If you want to photograph homes professionally, start by shooting your own home, friends’ homes and rentals. Build a small portfolio that shows consistent, honest results. Check local business licensing and insurance requirements before taking paid work.
Shooting Order for Efficiency
Many photographers shoot interiors in a consistent order, such as front door to back, ground floor before upstairs, finishing with exteriors when the light is best. A consistent order helps you avoid missing rooms and makes it easier to sort and deliver images afterward. Keep a printed shot list on your phone and check items off as you go so nothing is forgotten when you leave the property.
Frequently Asked Questions
What lens is best for real estate photography?
A moderate wide-angle lens is common. Avoid extreme distortion.
Do I need a tripod?
A tripod improves consistency and bracketing.
What is bracketing?
Taking multiple exposures at different brightness levels to blend.
Do I need a license to fly a drone for listings?
In the U.S., listing photos are commercial use and generally require a Part 107 certificate.
Should I use virtual staging?
If used, follow local disclosure rules.
The Bottom Line
Great real estate photos come from preparation, level compositions, bracketed exposures and honest editing. Declutter and light the space, keep verticals straight, follow drone rules and present the property accurately.
Editorial note: Shutter Roost is independent and reader-supported. This guide is based on research into manufacturer documentation, published specifications and widely accepted best practices; we have not been paid to mention any product. If we add affiliate links in the future, they will be clearly disclosed per our Affiliate Disclosure.
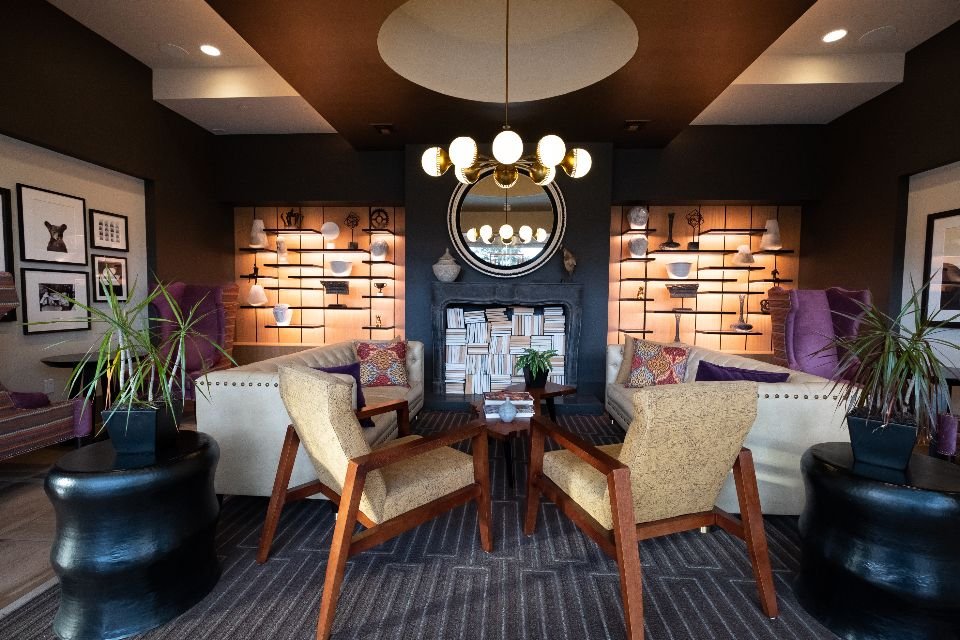
Photo: Modern Room by Matt Bango, CC0 1.0